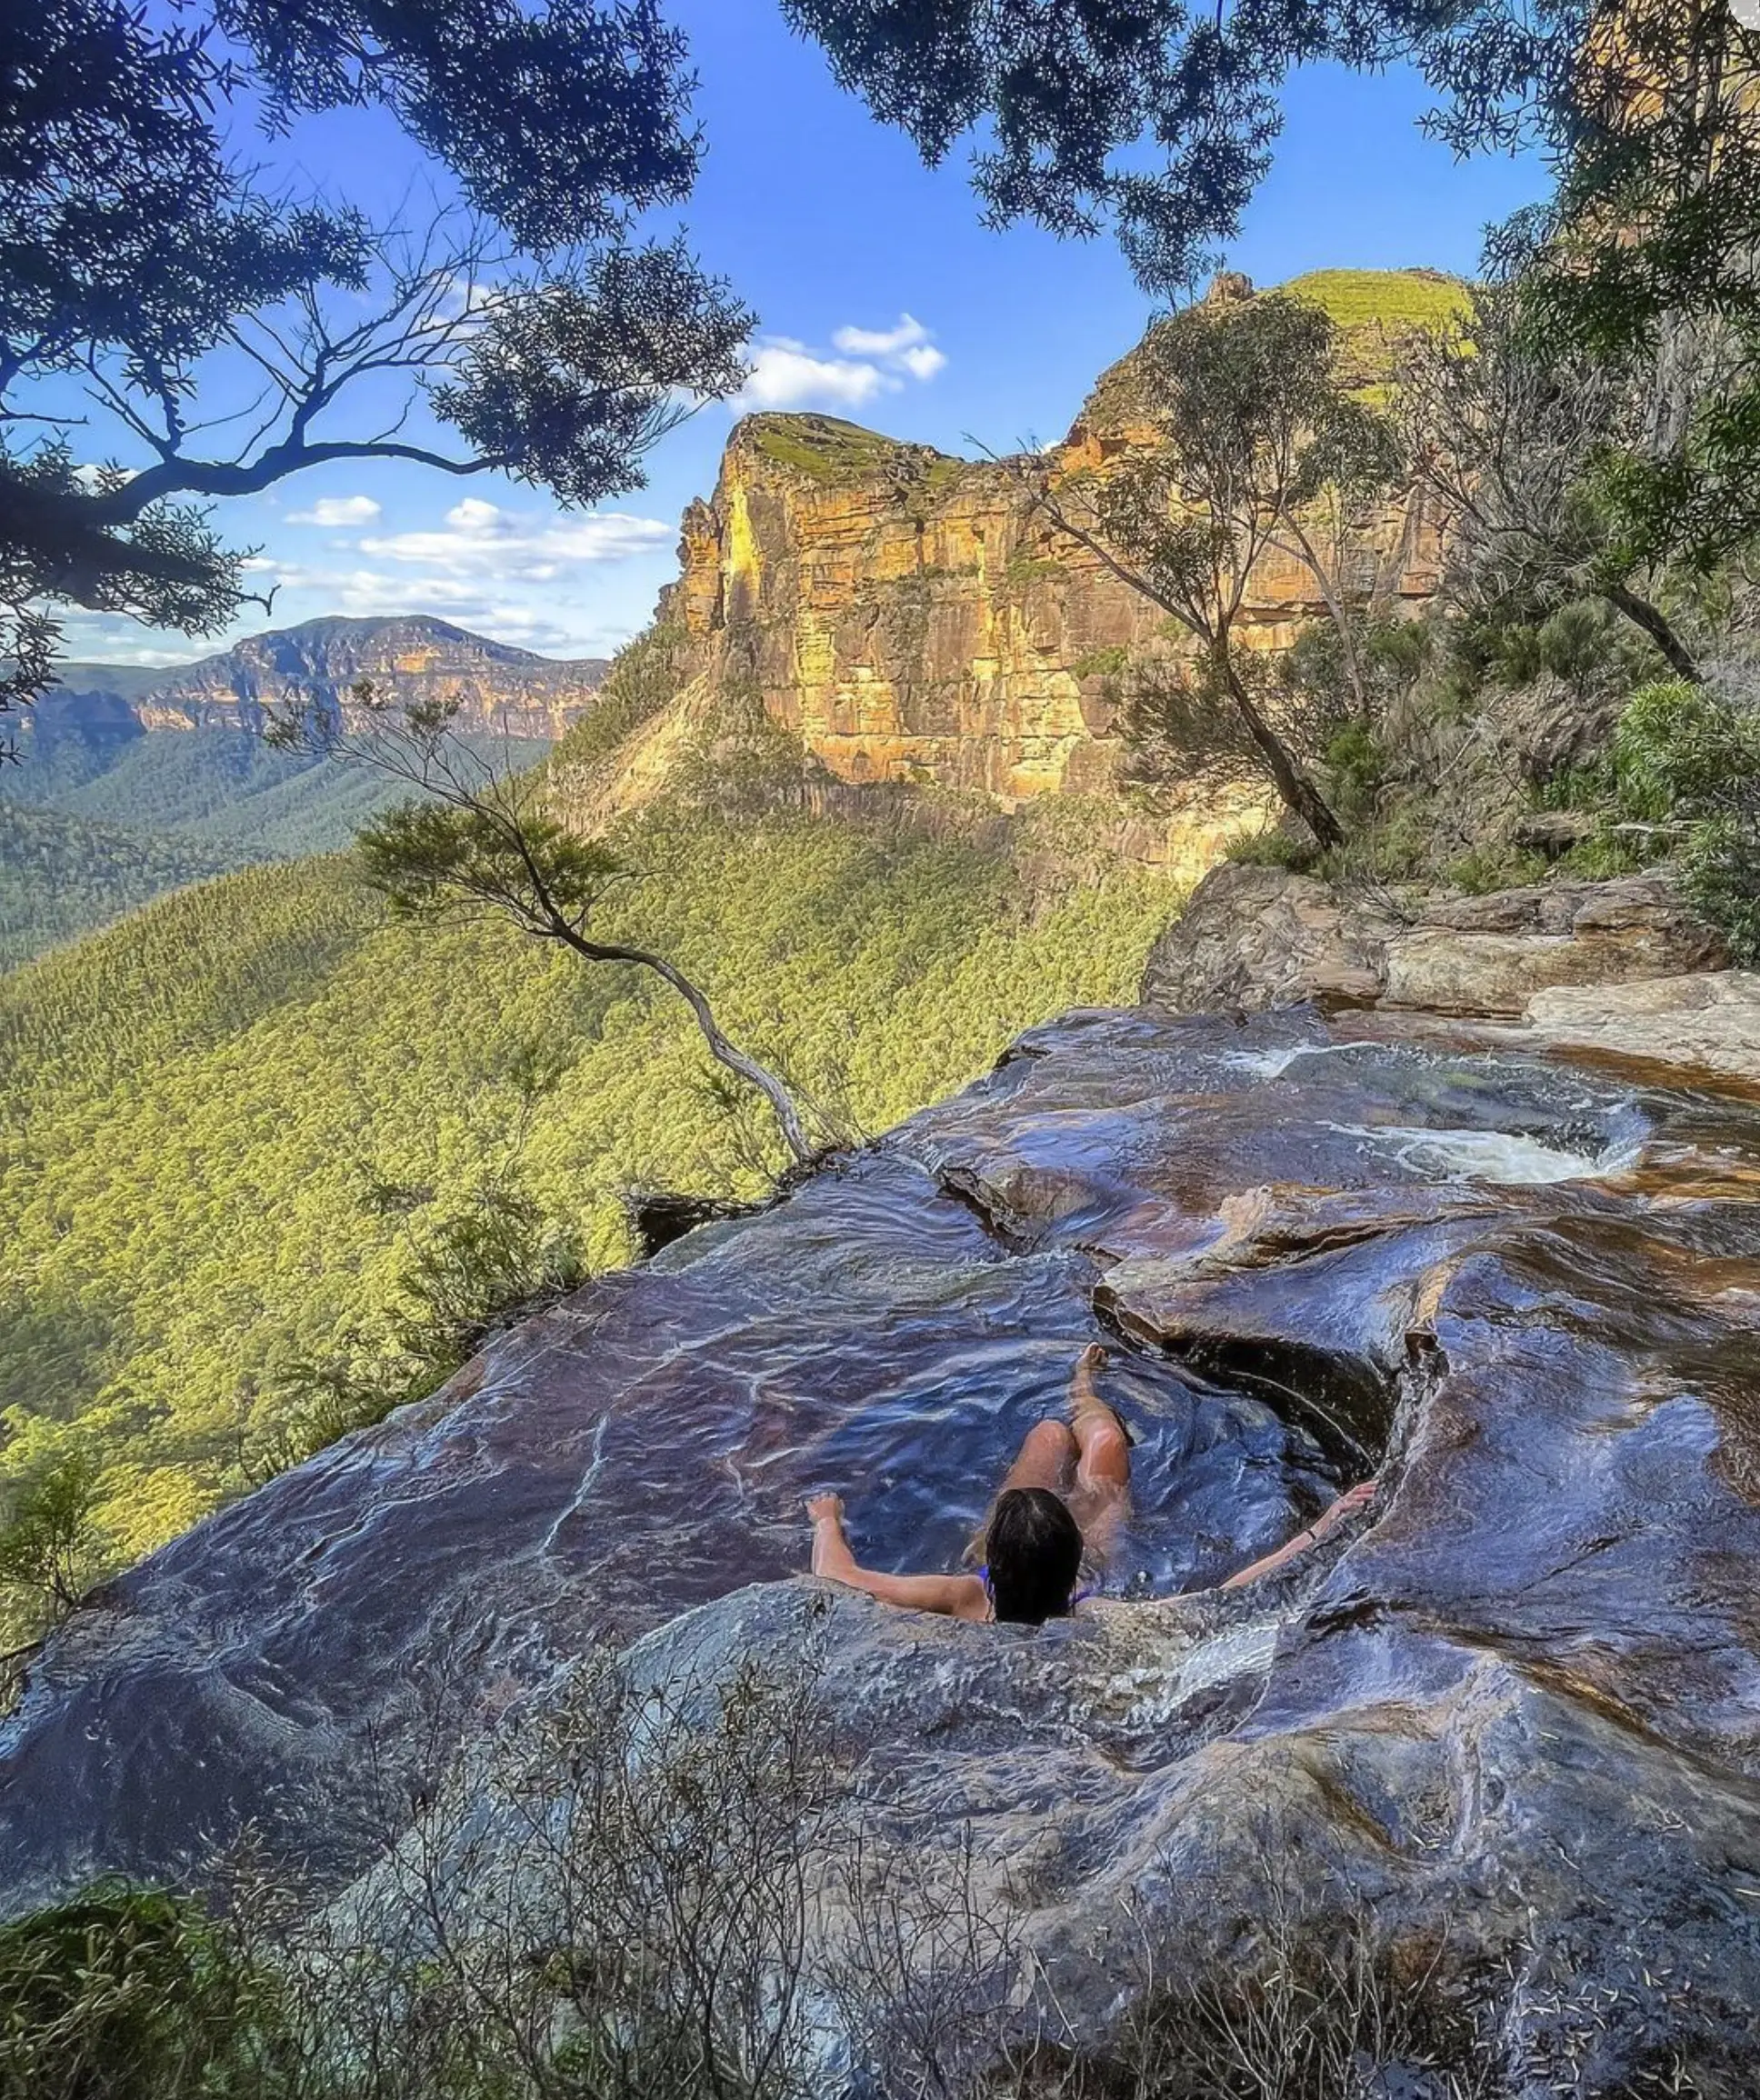
It is not only big landscapes and dramatic views that make up the Blue Mountains; it is also a home for many different kinds of animals. Taking pictures of these living creatures in their natural habitats can bring life to your photography portfolio.
Frequent Species
Wildlife is abundant in the Blue Mountains, which gives photographers a great opportunity to take shots. Kangaroos, wallabies, and wombats are among the common species found here. There is also a wide range of birds such as cockatoos, lyrebirds, or parrots. The platypus, which is difficult to spot, and the popular koala are other good examples although they need more time and luck.
Preferred Times and Spots
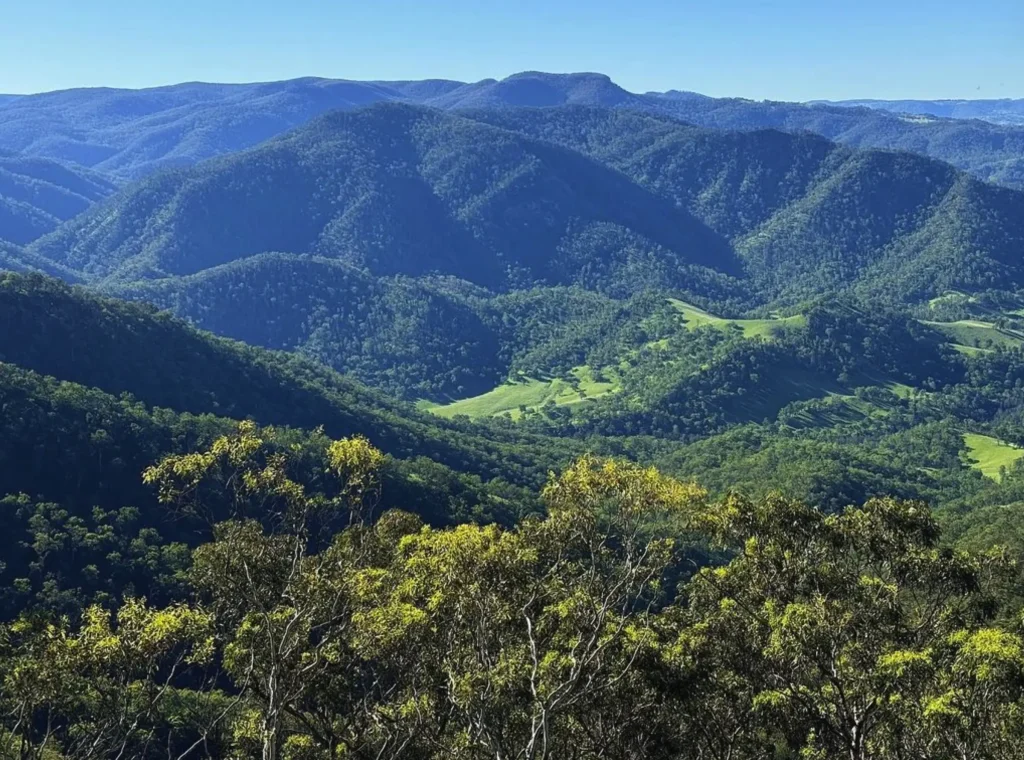
The most active hours for animals are early morning and late afternoon; therefore, it is recommended to shoot at this time. Some suggested locations include Megalong Valley, Blue Mountains Botanic Garden, or any trails around Jenolan Caves where one might have better chances than elsewhere. After sunrise but before people start coming out or just after sunset but when everybody has already left would be ideal moments for meeting wildlife without being crowded.
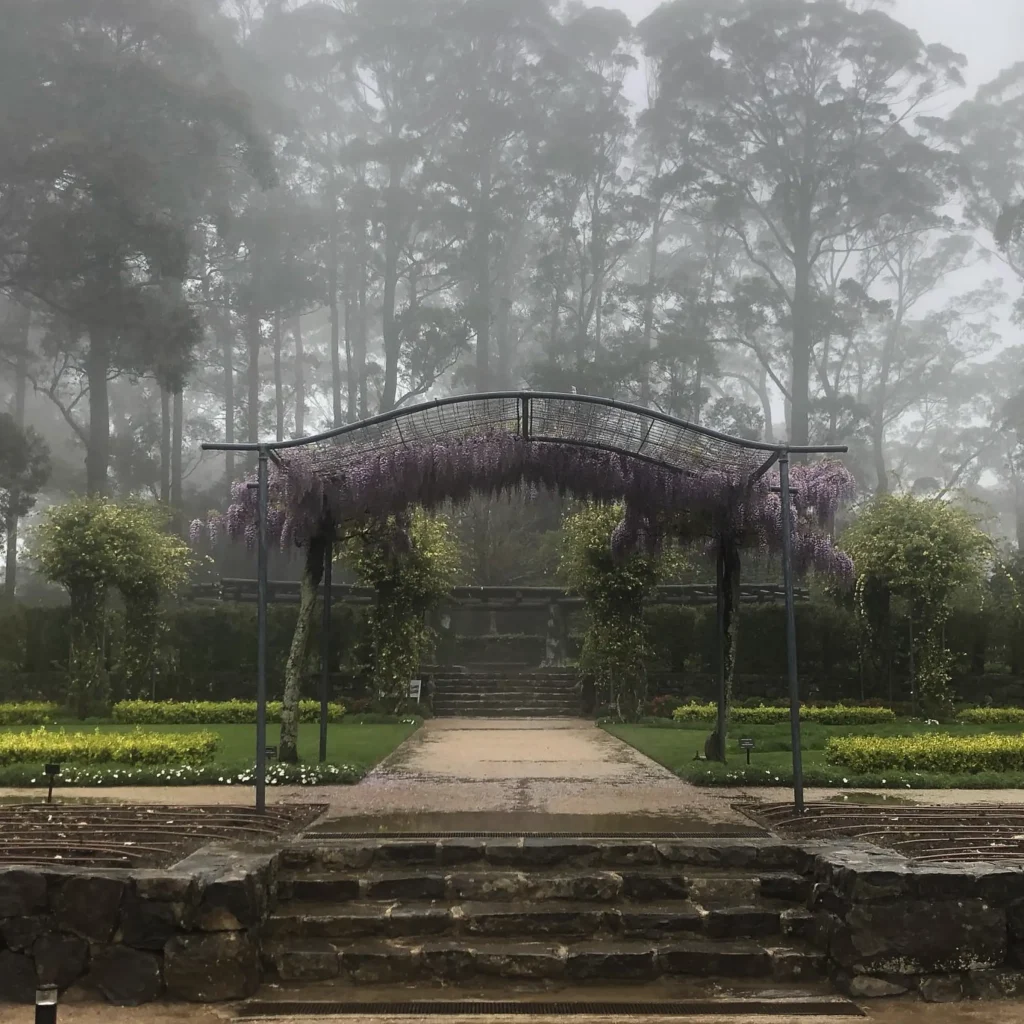
Wildlife Photography Techniques
Patience, quick reaction as well as suitable equipment are needed in order to succeed at wildlife photography. A telephoto lens enables taking pictures from afar without causing any disturbance while fast shutter speed helps freeze motion and keep pictures sharp. Focusing on animal’s eyes adds interest into an image making it look alive. Photographers should respect animals’ rights by observing them from safe distances so that no harm may come upon them due to stress brought about by human presence.
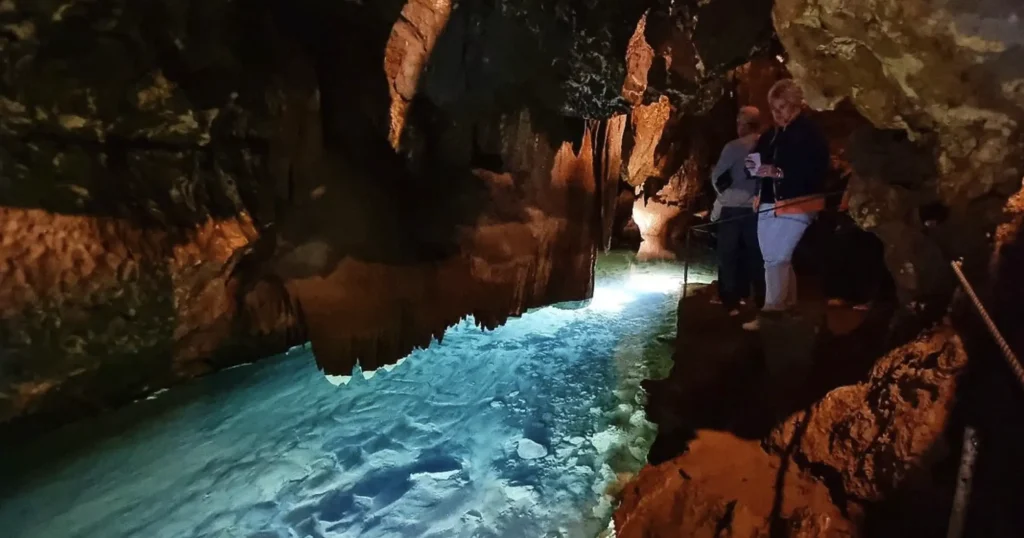
Advanced Photography Techniques
For those with more advanced skills there are some techniques which can be applied to capture new and exciting beauty of The Blue Mountains through cameras.
Long Exposure Photography
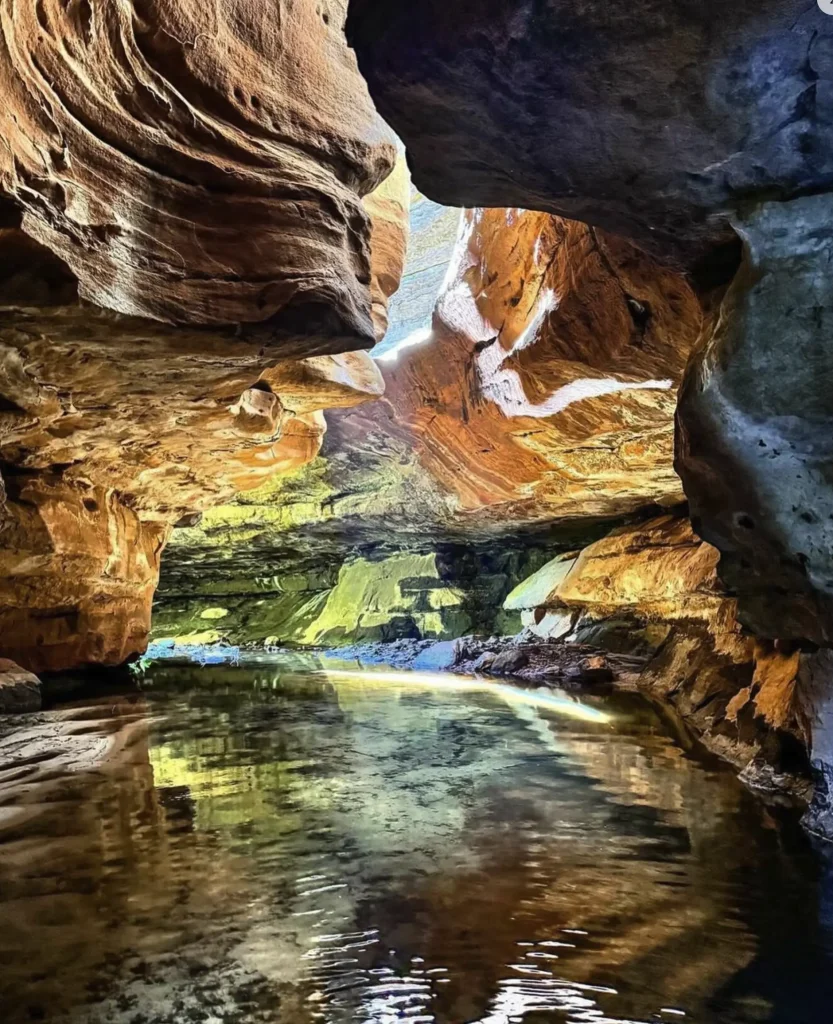
Long exposure photography creates smooth silky effect on waterfalls or streams by capturing the movement of water over time. To achieve this, use a sturdy tripod to prevent camera shake and ND filter that will reduce light entering the lens hence allowing for longer shutter speed even during daylight hours. Different exposure times should be experimented with until motion blur and detail get balanced perfectly.
HDR Photography
High Dynamic Range (HDR) photography is most suitable in places like the Blue Mountains where there is high contrast between bright skies and shadowed valleys. Several shots taken at different brightness levels can be combined in post-processing so as to capture a wider range of tones/details; this helps retain both highlight & shadow details thereby creating more visually appealing images.
Panoramic Photography
The expansive nature of the landscapes found within the Blue Mountains makes panoramic photography an ideal choice. Use a tripod, take a series of overlapping shots ensuring each has about 30% overlap with the next, then stitch them together during the editing phase forming a wide sweeping view of the landscape. Panoramic format works best at lookout points such as Govetts Leap or Echo Point where one can fully appreciate the vastness of views through this method.
Post-Processing Tips
Software Suggestions for Editing
Photo editing means Adobe Lightroom and Photoshop. For example, Lightroom is useful in batch processing as well as global adjustments while Photoshop has more advanced tools for fine-tuning and creative editing. Capture One is another powerful option that offers high-quality color grading and tethered shooting capabilities.
Fundamental Adjustments
Begin with basic adjustments like exposure, contrast, and white balance. Moreover, tweak the highlights so that they bring out details from both the bright and dark regions of an image; shadows can also be adjusted in this way. Furthermore, mid-tone contrast can be enhanced by using the clarity slider which also adds definition to photos but care should be taken not to overdo these adjustments since they may make images appear unnatural.
Advanced Methods
To perform advanced edits, consider using layers together with masks within Photoshop when making selective changes or else dodge & burn areas selectively so as to lighten or darken them thereby creating depth and dimensionality within an image. Different moods or atmospheres could be produced in pictures through experimentation with color grading while sharpening noise reduction steps must never miss on any post-processing workflow if crisp clean results are desired.
Photography Etiquette/Conservation
When photographing Blue Mountains it’s important to observe respect for nature plus proper etiquette otherwise known as Conservation measures.
Respect for Nature/Wildlife
Keep a safe distance away from animals always even if they’re too close hence don’t disrupt their natural behavior at any given time but rather use a telephoto lens when you want a close-up shot without moving closer towards them; stick only on designated trails so as not to destroy vegetation cover thus preventing soil erosion besides never feeding wild animals because this can affect its health negatively and change its behaviors normally associated with survival instincts during such encounters among other things too numerous to mention here separately followed by a full stop.
Follow Park Rules/Guidelines
Observe all park rules including staying on marked paths plus respecting closed areas but also follow specific guidelines meant for photography so that safety may be guaranteed as well as preservation achieved within natural environment awareness programs such as those conducted by parks management authorities like BMNP which is abbreviated for Blue Mountains National Park located in New South Wales Australia where these precautions were made known among other reason being protection both visitors wildlife.
Minimising the Impact
Always remember about minimizing the impact wherever one goes whether it’s Blue Mountains or any other place on earth. For instance, adopt Leave No Trace principles by carrying out your garbage thus reducing ecological footprints left behind; use products friendly towards sustaining ecology while avoiding disturbance of habitats since they play crucial roles in maintaining balance ecosystems; take care not to make unnecessary noise move too much around because this could interfere with peace prevailing within natural surroundings this sentence seems longer than usual does not matter even though everything else has been shortened significantly already ends here as there are no additional words required at end.
Photography Classes / Tours
For people who want to learn more about their cameras and explore different places should consider joining photography classes or going for photo tours especially if it’s in Blue Mountains.
Local Photography Lessons
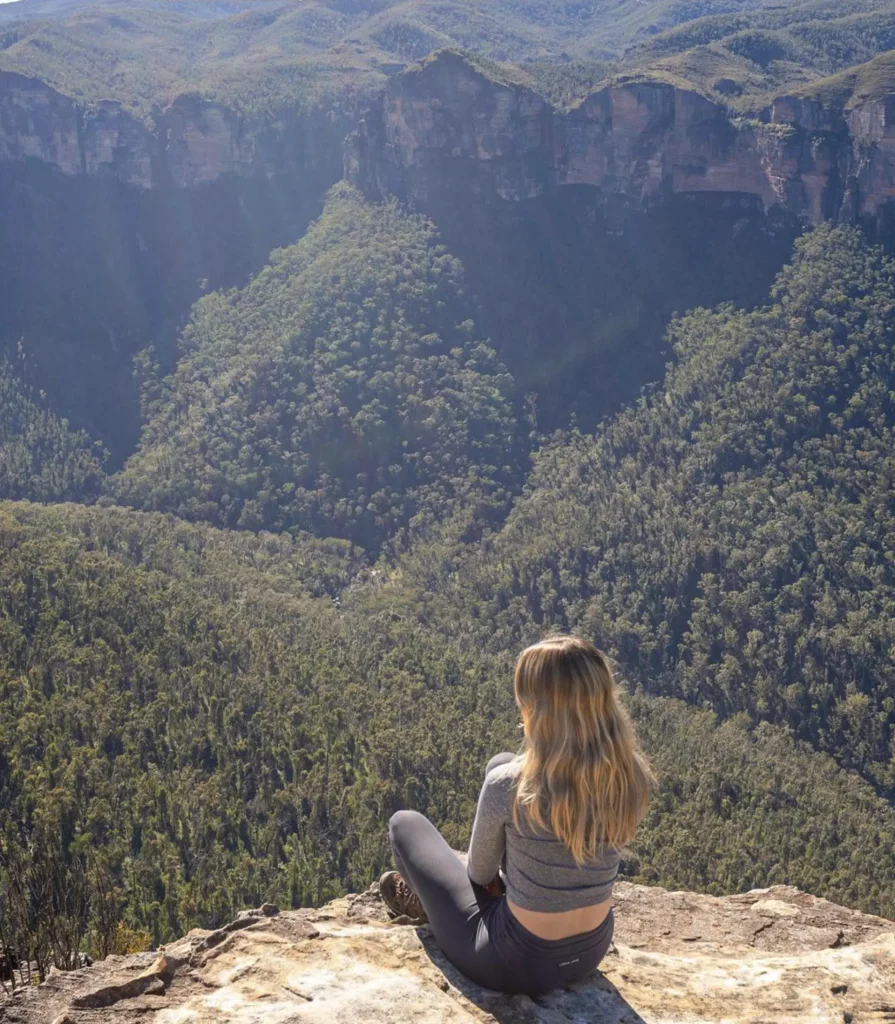
These offer practical lessons taught by experienced photographers who know best locations plus timings within Blue Mountains among others things. Furthermore, these courses touch various techniques starting from basic composition skills up-to advanced editing methods therefore attending one will enable an individual gain valuable insights as well grow his/her skill set while being surrounded with like-minded individuals trying achieve same goal hence creating supportive community around them throughout journey towards becoming better photographers locally.
Guided Photography Tours
In addition, guided Blue Mountains day tour allow you to travel with others having common interest thereby giving opportunity interact share knowledge together during safari hence getting exposed to a wider variety shot options that could have remained unexplored if went alone not forgetting personalized coaching provided along route help capture great images plus logistical support offered making traveling easier especially when considering long distances involved either due time constraints or lack necessary transport services otherwise required during such adventures.
Advantages of Getting Professional Help
Getting professional help can do wonders for your photography. Teachers offer pointers and feedback that could enable you to see the landscape in a different light or capture it from a fresh angle. They also teach how to work around difficult conditions and maximize on-field time. Soaking up knowledge from experienced photographers will speed up your growth and spark new creative thoughts.
In Summary
Taking photos of the Blue Mountains is an enjoyable activity because it allows for endless creativity and discovery. Everything about this place is worth capturing; from famous landmarks with breathtaking views to wild animals among vibrant vegetation — every second spent here presents an opportunity to immortalize nature’s beauty forever through lens. This guide equips you with necessary skills required so that you are able to take amazing pictures which represent the soul of Blue Mountains.
FAQ
What are the best times to photograph the Blue Mountains?
The golden hour (just after sunrise and before sunset) as well as blue hour (before sunrise and just after sunset) remain some of the most recommended periods for taking shots at this place. These moments provide soft diffused lighting that brings out natural features of landscapes more clearly than harsher midday sun rays would allow for. Also, different seasons come with varying colors hence providing unique chances for good photographs especially during autumn when leaves change into bright hues.
What equipment should I carry when going out shooting in The Blue Mountains?
To shoot effectively in The Blue Mountains, bring along your DSLR or mirrorless camera bodies fitted with wide-angle lenses plus telephotos; pack sturdy tripods too alongside polarizing filters & ND filters while remote shutter release cables together with extra batteries ought not be left behind either especially if wildlife photography is on the agenda which requires long hours waiting around without much movement taking place closer distances being achieved only through use of powerful zooms.
Are there any guided tours available specifically designed for photographers visiting The Blue Mountains region?
Yes, many companies offer guided Blue Mountains tours specifically designed for photographers visiting The Blue Mountains region. Professional photographers who know the area well lead these trips and take you to some of the best spots for photography. In addition, they can provide useful tips and techniques on how to improve your skills as a photographer.
What should I do when shooting wildlife at The Blue Mountains?
When it comes to wildlife photography in The Blue Mountains, use distant telephoto lenses that will enable subjects to feel safe while being captured with minimal intrusion into their natural habitats; be patient during early mornings or late afternoons when animals are most active but also avoid disturbing them unnecessarily by making too much noise around where they may be resting or feeding; focus mainly on eyes which tend to have greater emotional impact than any other part an animal’s body does towards viewers looking at resultant images taken under such conditions — this makes them appear more alive thus attracting greater attention from people viewing these photos; employ faster shutter speeds so fast-moving creatures don’t blur but instead freeze action as desired.
How can I improve my landscape photography skills?
To elevate your landscape photography prowess: practice using rule of thirds & leading lines establishing better compositions within frames thereby creating stronger visual impacts upon observers’ minds through their optical senses via cameras recording light onto sensors before converting it into digital files later which will then become visible representations displayed across screens during post-production stage among others where appropriate filters like graduated neutral density ones could be used effectively ensuring balanced exposures throughout different parts composing entire scene being shot at any given time; try various angles perspectives framing styles until finding what works best according to individual preferences as well paying closer attention towards lighting conditions encountered during shoot especially bright sunny days when strong sun shadows might ruin some shots taken at certain locations unless corrected accordingly either by changing shooting position or waiting few minutes until clouds move into right positions overhead.
By following this guide and experimenting with different techniques, you will be able to capture stunning images of the Blue Mountains that not only show off its natural beauty but also reflect your own creative vision and style as a photographer.
